Showing posts with label Fruit. Show all posts

Friday, October 9, 2009

Choosing A Good Apple

Have you ever found yourself sorting through the apples at the grocery store, hoping to get the tasty, crispy ones and not the nasty, milly apples.

Well, no more hoping…here is a sure fire way to fresh, crispy apples all of the time.

Did you know that apples grown last season are still sold right along side with apples grown this season?

How are you to know the difference…?

Look at the bottom.

IMG_3395

This seasons apples have a tight blossom on the bottom.

IMG_3397

Last seasons, have a dry, open blossom.

So there you have it…no more nasty apples…you are now in control :)!

Wednesday, October 7, 2009

THE JUICER!!!

Well, another project down…75 pounds of Concord grapes. Whoa! I never thought I would see the end. My dear neighbors (the ones with the plum tree), also grow Concord grapes and those lovely vines have just snaked there way over our fence and into our lives. It is a beautiful thing.

IMG_3377

I started picking last Saturday and just finished Tuesday. We are talking A LOT of grapes here and that is just what is on OUR side of the fence! I can’t imagine what is on theirs!

IMG_3381

We decided to split our first batch and make half of it into just plain grape juice and the other half into grape jelly. So…to start off…RINSE!!

IMG_3384

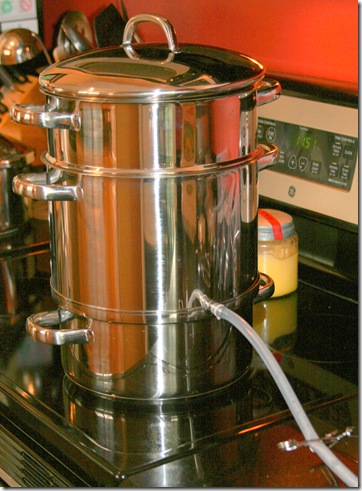
After that we put the grapes into this brilliant contraption called a Steamer/Juicer. My Mom bought one for our family to share and it is BRILLIANT!!

IMG_3385

This is the middle part of the steamer/juicer where the juice collects.

IMG_3388

Filled to the brim!

IMG_3391

This is what it looks like all buttoned up.

IMG_3392

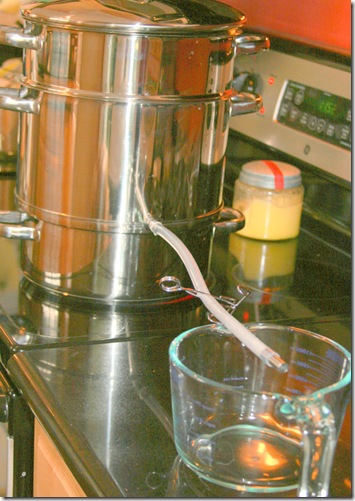
Make sure and put a little something under the draining hose to catch any escaping juice.
IMG_3393

Then you just wait. That is truly all you do. I would drain it every once in awhile, but you pretty much just let it sit and steam…for 60 minutes to be precise. Then when it is finished you can either bottle up the juice right then and there (which we did), or you can put that juice to good work and make some jelly (which we did).
IMG_3370

To make the jelly you just start to boil 5 cups of Concord Grape Juice with a box of pectin until it is dissolved. After that, you can add 1 teaspoon of butter or margarine to help bring down the foam.

IMG_3367

Then add the sugar all at once, 6 cups if you are using Concord Grapes. Bring it to a hard boil, stirring constantly and once you have reached that point, stir for 1 minute.

Remove from heat and quickly skim off foam.

IMG_3372

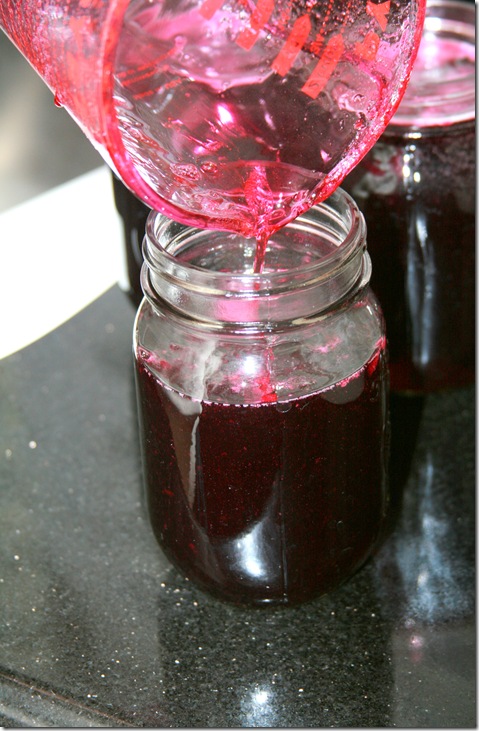
Pour directly into hot jars.

IMG_3374

And seal them up! Quite easy and VERY tasty!!

IMG_3394

And when you are done your grapes look like this…very sad and thoroughly steamed. But they did a great job and we will be enjoying them all winter!!

Here is to antioxidants!!

Thursday, October 1, 2009

Just Dehydrate it!

I had a summer long desire to try my hand at food preservation and subsequently, opportunities are coming out of my ears! You know the saying, “be careful what you wish for”!

I have so many wonderful neighbors who have offered up their lovely produce and I am very grateful to them. We have canned peaches and applesauce, frozen peach cocktail, are getting ready to bottle our own grape juice, so when my neighbor next door told me I was welcome to ALL of the Italian Plums that were hanging from their tree onto our side of the fence, I thought…”what am I going to do with those?”

Good thing I asked my neighbor…she said “dehydrate them.” Sweet! I even have a dehydrator! So I picked about 50 lbs of plums and went to work!

IMG_3314

The great thing about dehydrating it that it is SO easy! The prep is minimal and the dehydrator does all of the work. You just get to sit back and watch!

IMG_3312

For plums, we just washed them all well and cut them in half (make sure and remove the pit). They say you can squash them flat with your hand before putting them on the tray, but I didn’t see much advantage…just more mess.

IMG_3357

So I just laid them out.

IMG_3358

When they are done, they shrink up…a ton! And they are surprisingly very good, nothing like the dried plums/prunes you buy in the store.

IMG_3363

I was so excited about dehydrated fruit that when my local grocery store had a deal on pears…I bought a box! And they are DELICIOUS! (and I don’t even like pears!) My kids think these taste like candy and they are healthy to boot. A win/win!

The dehydrator I use is a Nesco and it is easy to use and quite compact. I looked on Ebay to see how much someone could get one for and there were prices as low as $16 for a lightly used one to $24 for a brand new one. Pretty inexpensive and a very worthwhile investment.

My next dehydrating project…fruit leather!

Thursday, September 24, 2009

A Little Peach Pie!

I have been swimming in peaches as of late and was in need of a quick and easy dish to use up the last of my stash. Luckily for me I just happened to have an already prepared pie crust (the ones in the box in the refrigerator section).

Although I must explain…in the past I have shunned away from buying premade crusts…I always figured they would be too heavy and not flaky (I am now repenting), but I bought one for another recipe and then realized I had purchased the wrong thing…so what am I going to do with it? Make a VERY easy peach pie of course!

So,

  • I mixed all of my ingredients together…peaches, lemon juice, sugar, flour, and cinnamon. And put it into the prepared pie crust.
  • I then cubed 2 Tablespoons of butter and placed those on the top.
  • I then sealed the top crust with the bottom crust and with a knife cut off the excess.
  • Then, with a fork I made pretty designs on the crust.
  • Next, cut several slits in the top for venting.
  • Last of all I covered the edges with aluminum foil, so the crust wouldn’t burn.

IMG_3346

I baked it for 45 minutes at 425 degrees.

IMG_3347

And guess what the result was? A VERY tasty, VERY flaky Peach Pie. Who would have thunk!

IMG_3354

We paired it up with a bit of vanilla ice cream and it was a hit!

IMG_3356

Every bite!!

So, the next time you need to make a dessert and you just want something easy and delicious, or you want everyone to think you are the best baker on the planet. Make this…you will be glad you did!!

Fresh Peach Pie (9-inch)

betty crocker cookbook

5 cups sliced fresh peaches

1 teaspoon lemon juice

1 cup sugar

1/4 cup all-purpose flour

1/4 teaspoon cinnamon

2 Tablespoons butter

Heat oven to 425 degrees. Prepare pastry. Mix peaches and lemon juice. Stir together sugar, flour, and cinnamon; mix with peaches. Turn into pastry lined pie pan; dot with butter. Cover with top crust which has slits cut in it; seal and flute. Cover edge with 2 to 3 inch strip of aluminum foil to prevent excess browning; remove foil last 15 minutes of baking.

Bake pie for 35-45 minutes or until crust is brown and juice begins to bubble through slits.

*If you want to use canned peaches:

  • substitute 2 cans (1 lb. 13 oz.) sliced peaches, drained for the fresh peaches and decrease the sugar to 1/2 cup.